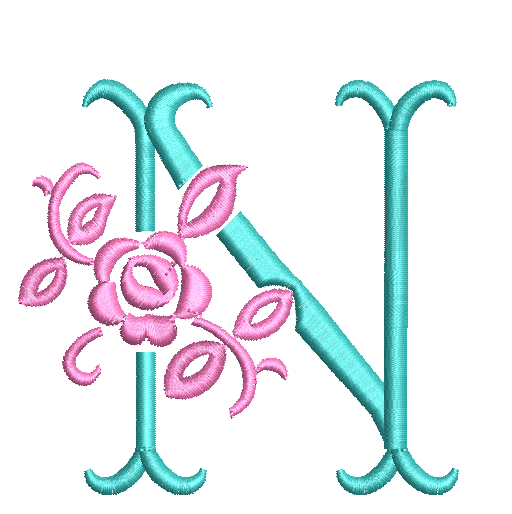
BX fonts, or .bx fonts, are a fantastic resource for crafters and designers, particularly those working with embroidery and cutting machines. These fonts are specifically designed for software like Embrilliance (Express mode is completely free!) and Brother ScanNCut, allowing for seamless customization and high-quality results. Here’s a guide on how to use BX fonts effectively.
If you don't have Embrilliance yet, you can download it here.
What Are BX Fonts?
BX fonts are a special file format that enables users to type text in their chosen font directly within embroidery software. This format streamlines the design process by eliminating the need to place each letter manually, enhancing both efficiency and precision. BX fonts are especially favored by machine embroidery enthusiasts for their ease of use and integration with design software.
Step-by-Step Guide to Using BX Fonts
1. Download and Install BX Fonts
To start, you'll need to acquire BX fonts. You can purchase a wide selection of BX fonts from my online store. Once you've downloaded them, installing is straightforward:
-
For Embrilliance Essentials:
- Open the Embrilliance software.
- Locate the BX font file in your computer’s download folder.
- Drag and drop the BX file into the open Embrilliance window.
- The software will automatically install the font, and it will appear in your font list.
- Here is the video tutorial, how to do it.
-
For Brother ScanNCut:
- Ensure you have the appropriate software for using BX fonts.
- Follow a similar drag-and-drop procedure as outlined for Embrilliance.
2. Creating Your Design
Once the BX font is installed, you can start creating your design:
- Open your embroidery or cutting software.
- Select the text tool and choose the BX font from your font list.
- Type out your desired text. The BX font is already formatted for embroidery or cutting, saving you time on adjustments.
- Adjust the size, spacing, and other properties as needed. BX fonts are designed to maintain quality even when resized, but it’s always good to do a test run if you’re making significant size changes.
3. Preview and Adjust
Before finalizing the design, always preview it. Most software allows you to see a simulated stitch-out or cut-out of your design. Look for:
- Alignment: Ensure that your text is aligned as you want it.
- Spacing: Check the spacing between letters. Some software allows for fine-tuning this to avoid overlapping or excessive gaps.
- Size: Confirm that the size fits your project requirements.
4. Save and Export
After finalizing your design, save it in the appropriate format for your machine. Common formats include PES for Brother machines, JEF for Janome, and SVG for cutting machines. Make sure to follow your machine’s guidelines for transferring files, which may involve a USB drive, direct connection, or wireless transfer.
Tips for Using BX Fonts
- Test Stitching: Always do a test stitch on a scrap piece of fabric. This helps in identifying any issues with the design and making necessary adjustments without wasting your main material.
- Font Variety: Experiment with different BX fonts to see which works best for your project. Different fonts can convey different moods and styles.
- Software Updates: Ensure your embroidery or cutting software is up-to-date to avoid compatibility issues with new BX fonts.
Conclusion
Using BX fonts can significantly streamline your embroidery and cutting projects, offering precise and customizable text designs. By following these steps and tips, you can make the most out of BX fonts and enhance your crafting experience. Whether you're a seasoned pro or a beginner, BX fonts open up a world of creative possibilities.
Ready to get started? Explore our wide range of BX fonts here and elevate your designs today!
